
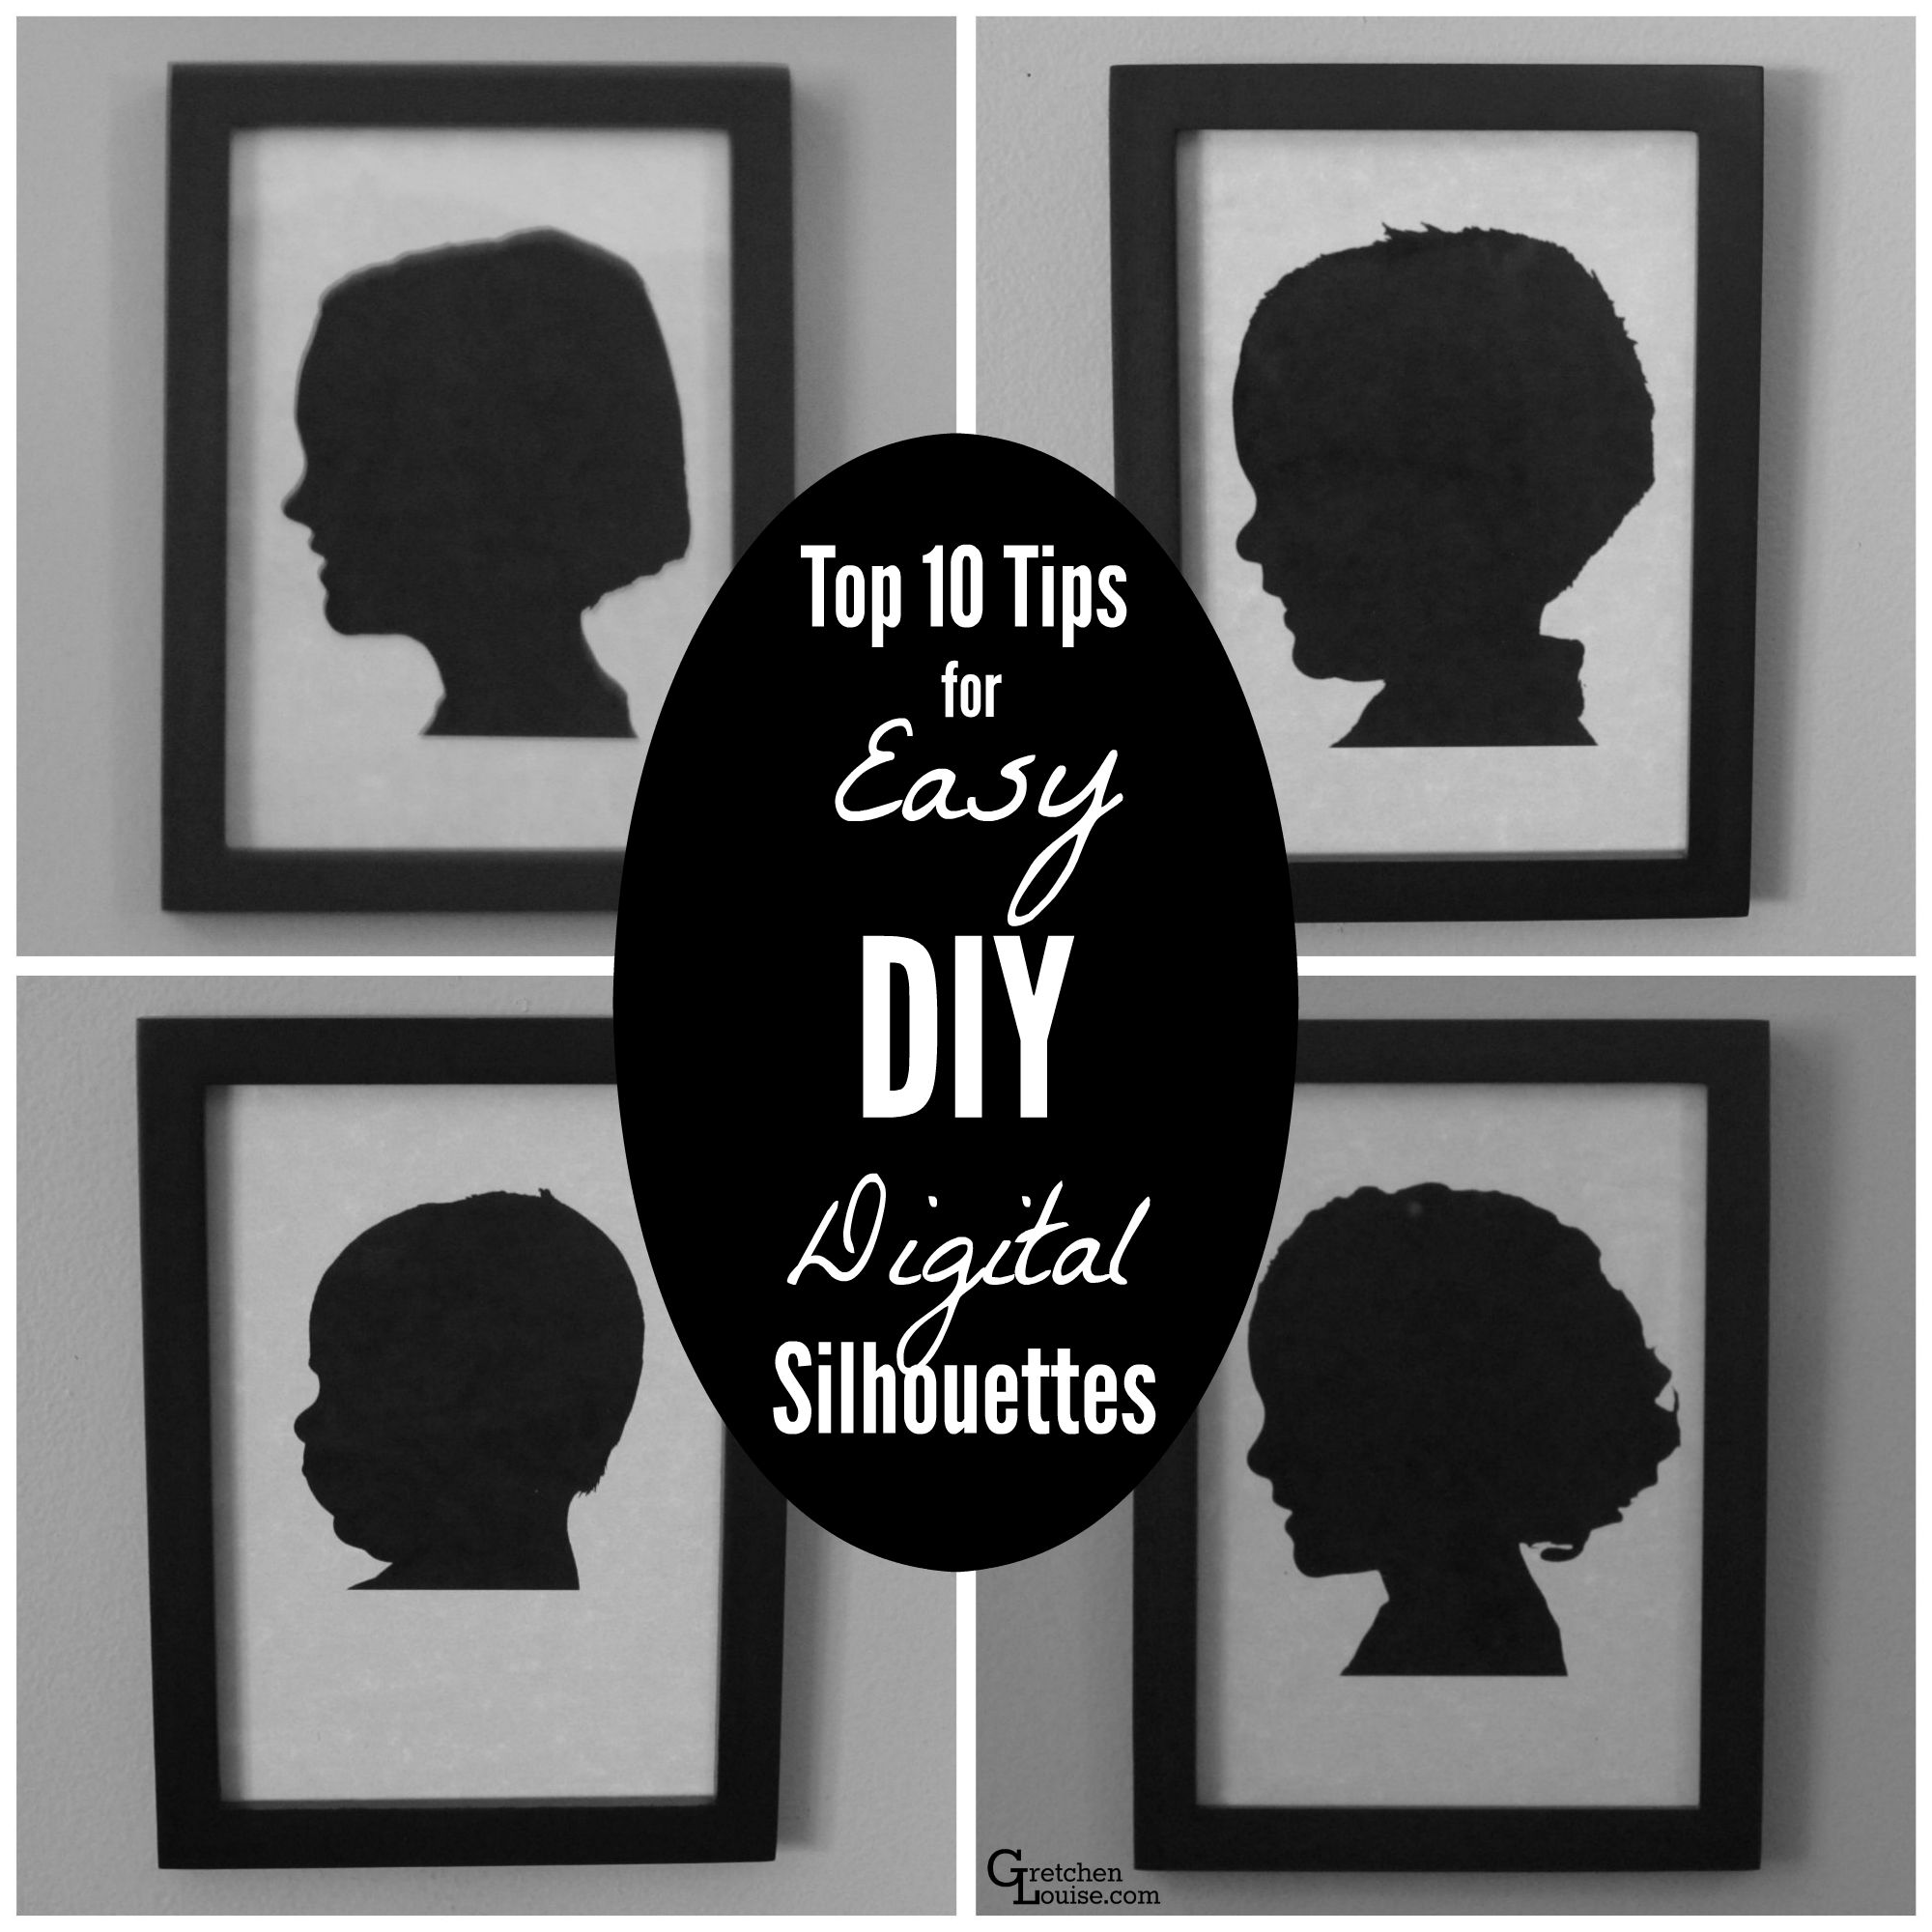
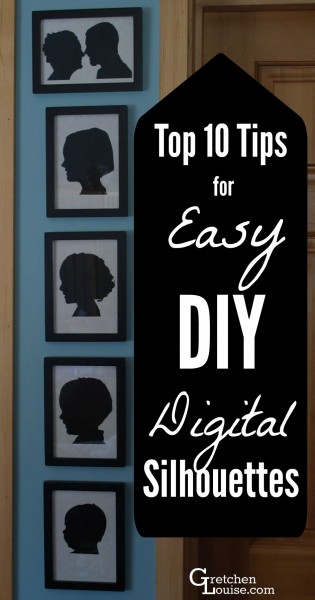
Top Ten Tips for Super Simple Silhouettes
I’m not the Pinteresty, crafty, DIY type. But sometimes, I forget that. When I saw my friend Amanda‘s Instagram image of her silhouettes project, I knew I had to try it–regardless of the fact that spray paint and scissors were required.
Or at least, I thought spray paint and scissors were required.
I started looking up tutorials on Pinterest, and one caught my eye: they’d used a photo editing program to create the silhouette image. And suddenly, I had a light bulb moment. I didn’t have to painstakingly cut out ever tiny little detail of my silhouette images using scissors or an X-ACTO knife. I didn’t need to paint over the silhouettes in black paint. All I had to do was edit the images to turn them into black silhouettes, and print them just like that! No scissors. No paint. Just a bit of editing, a printer, and a frame to finish off the project.
But making digital silhouettes means that you want to pay a bit more attention to the photography stage of your project. Here are a few tips to make the process of capturing and editing your silhouettes a bit easier. (Learn from my mistakes!)
 1. Select a super bright background.
 1. Select a super bright background.
The brighter your background, the less editing work you’ll have to do. A white appliance, white wall, or white sheet works. A sunny window is better. The best is bright sunshine and blue sky. The more your subject already appears as a silhouette in the viewfinder, the more print-ready your image will be. (Here are some great tips for optimizing lighting and camera settings when capturing silhouette photos.)
2. Wear clothing with simple necklines.
That high collar looks cute in the picture–until you can’t distinguish the neck from the collar in the final silhouette. Watch the lines of the clothing choices so that you don’t end up with a fat neck, or worse.
3. Choose clothing with similar coloring to the subject.
If you aren’t using a super bright and sunny background, you’ll have more of an editing challenge when isolating your silhouette from the background. Choose clothing that closely matches the coloring of the subject so that when you’re trying to automatically select your silhouette, you’ll be more likely to get the entirety of the silhouette.
4. Beware the hair.
All those corkscrew curls won’t be distinguishable in a silhouette–except as one great big mass, with curls on the edges. (Ask me how I know? My second daughter has Shirley Temple style curls.) That gorgeous updo? It may look more like a strange headdress in silhouette. (Don’t as me how I know. I may have edited my hairdo post photo-shoot.) Think more about the profile of the hairdo than the actual full-color, 3D appearance of the style you choose for the silhouette photoshoot.
5. Start with the subject with the biggest head.
If you’re doing multiple silhouette shots, start by posing the subject with the biggest head. Fill the entirety of your camera’s frame with the silhouette of their head (or head and shoulders, depending on how much of a silhouette you plan to capture).
6. Keep the photographer and the subject in the same positions, facing the same way, for each single shot.
Mark where the subject is standing or sitting, and note where the photographer is standing or sitting (use a tripod for precision). Take the rest of the shots with the subject and photographer in the exact same spots as the first shot. This will help ensure the correct size ratio of the final silhouettes in relation to each other. And, unless you want your silhouettes facing each other on the wall, have all your subjects face the same way for the most accurate profile. (You can always flip the silhouette images later if necessary for framing.)
Couple or group shot?
If you are featuring more than one subject in the same image, make sure that there is a distinguishable space between them. (Check out these great group silhouette examples from Click It Up A Notch.)
7. Pose with chin up, eyes straight ahead, and a big smile.
The biggest challenge in getting silhouette shots of children is getting them into the right position. Since you can’t get a profile shot with the subject looking at the photographer, it’s most helpful to have another person standing in front of the subject as a focal point. You want the subject’s chin up, but not too high. If they’re looking straight ahead (at a 45 degree angle from the photographer) with a slight smile, you’ll get a nice profile. (And if their chin is at an awkward angle, you can always rotate the image a bit when you’re editing!) If you’re capturing a baby’s profile, an extra person is essential: if they hold the little one up at arm’s length, you’ll be able to get a good shot (but beware: the cheeks may be so chubby you can’t distinguish the mouth!).
8. Don’t crop the image as you edit it.
Your first inclination will be to crop in close to each silhouette in order to eliminate extra background disturbance. But if you’re creating a set of silhouettes, you want to maintain the proper variance in size between your silhouettes. So keep that background area–it’s what sets the size ratio of the final silhouettes.
If you need to cut more off the base of the silhouette (to make all the neck/shoulder crops the same), crop the silhouette layer itself, rather than the whole image. Or, get fancy and use layers to create a custom look for the base (like Amanda did in the Instagram image above).
(Confession: I cropped right in close to the profiles first thing without even thinking. I’m still bothered by the fact that my ratios might be slightly off. But then again, my son’s head is probably really that big.)
9. Experiment until you find the right editing options.
This is one project you can’t do in Picmonkey or Picasa. You’ll need a free photo editing program like Paint.NET or Gimp, or a professional program like Photoshop or Lightroom. Experiment with brightness and contrast, saturation, invert image, etc. Ideally, you’d have composed your original photo in such a way that you can use the auto select feature to quickly grab the silhouette, use the paint bucket to fill it with black, and then invert your selection to make the rest of the image transparent. (Save the silhouette as a PNG image to maintain the transparent background.)
10. Lay out all your silhouette images for printing at the same dimensions.
Your final silhouette images should all match the original dimensions of your digital image (usually 4:3, but occasionally 2:3). Set your page margins and columns appropriately based upon your choice of picture frame, then insert your images. Again, remember not to crop your images. Insert all the images using the exact same dimensions so that the size ratio will be correct for the comparison of your silhouettes.
These are the settings I used in Microsoft Word for 5×7 frames:
- Page Margins: Top and Bottom .75 inches, Left and Right .25 inches
- Page Layout: Orientation: Landscape
- Page Layout: Vertical Alignment: Center
- Columns: 2, Spacing: .5 inches
- Image Size: 4.5 x 6 inches
https://instagram.com/p/5yNHmPSN6j/
We had our silhouettes printed at the local print shop to save on our printer’s thirsty ink cartridges. I sent them a PDF straight from Microsoft Word. And for five 5×7 images, it only took 3 sheets of paper (and cost an entire 82 cents!). We had the silhouettes printed on parchment paper. (I’d do cardstock weight parchment next time to protect against bending and make the framing process easier.)
We found simple black frames at Walmart, making the entire project cost less than $20. (If the dollar store had frames we liked, it would have been a super thrifty project!)
My husband hung them on the wall, and they make me smile every time I walk past. (Especially those chubby cheeks of our baby girl.)
Pinterest perfect. No scissors or glue required. That’s my kind of project.
(And of course, if you turn to Pinterest, the ideas for using silhouettes are simple endless. But the only one for which I can imagine being tempted to break out the scissors is this floating silhouette look. Though Amanda’s floral scrapbook paper background is very pretty, too!)
I’d love to hear about your latest Pinterest project–success or fail! Especially if it didn’t involve scissors, paint, or glue.
(Did I ever tell you about those newborn picture ideas from Pinterest that we tried to recreate? They were definitely hashtag Pinterest fail. All but one!)
Nice article. You write well. I just subscribed to your blog and read your story of how you met your husband lol. Its truly amusing 🙂
Very cute, Gretchen! Pinterest is a wealth of information for gathering adorable ideas that you don’t always see in the regular stores. You must let us all in on updates and sweet details of your littlest family member, baby Sarah. Of course, I know you are swamped with hay baling, getting geared up for the school year, harvesting your summer veggies, etc.
In Christ,
Bethany