
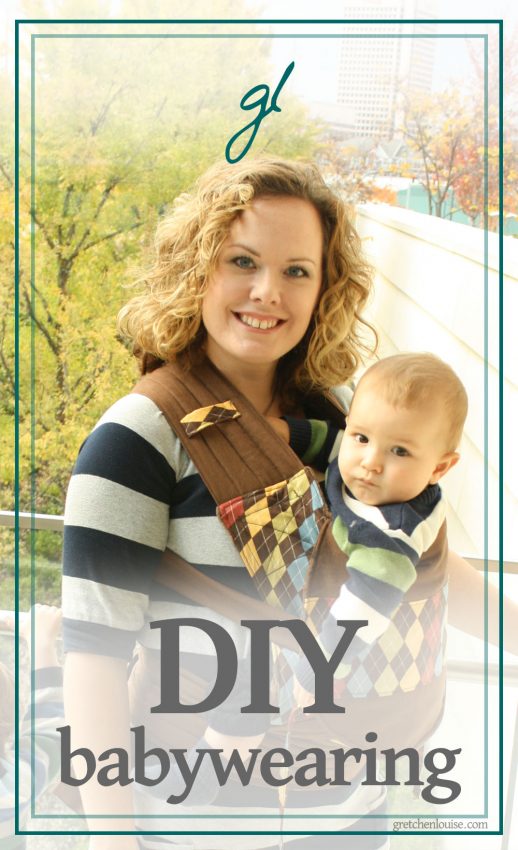
DIY Babywearing
I have been babywearing for over seven years now and truly can’t imagine parenting without wearing my little ones. In my babywearing journey, I have tried just about every style of carrier available and have even made a few of my own.
Today I am going to share with you three different baby carriers I have made and a few tips for making your own.
DIY Stretchy Wrap
(Sewing Skills Required: None)
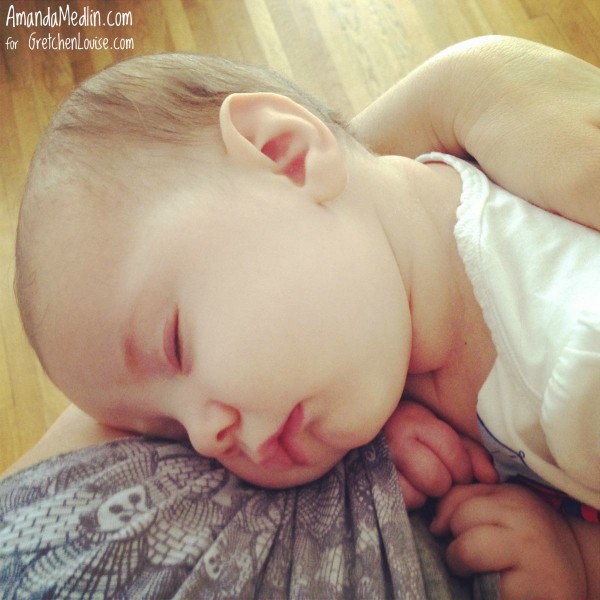
The least expensive and easiest baby carrier I have made was a stretchy wrap. I simply purchased 5 1/2 yards of 100% cotton jersey fabric from my local fabric store (using a 40% off coupon!) and cut it into thirds width-wise to make three stretchy wraps that each measured approximately 21” wide. I kept one for myself and gave the other two wraps away as gifts. The great thing about this DIY carrier is that this type of fabric doesn’t fray, so no hemming or sewing skills are required. Here is a good tutorial if you need a visual.
I wore my daughter in this wrap for her first few months before switching to an Ergo. I love stretchy wraps for newborns because they are so soft and cozy. Here is a picture of my sweet daughter sleeping in the stretchy carrier. Those cheeks!
If you want to make your own DIY stretchy wrap carrier, look for 100% cotton jersey knit fabric or 95% cotton/5% polyester blend. You want it to be stretchy like a t-shirt, but a bit heavier in weight. Avoid very thin fabric or fabric made with spandex, nylon, or a heavy percentage of polyester. You want it to stretch, but not be too much because it will need to safely support the weight of your little one.
Tip: Use a Sharpie marker to make a small mark at the center of the wrap to help you find it quickly.
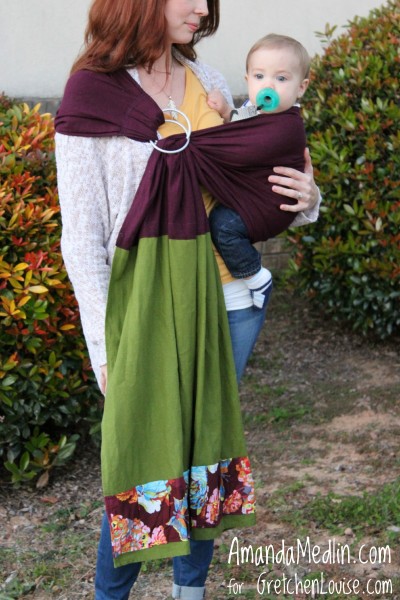
DIY Linen Ring Sling
(Sewing Skills Required: Intermediate)
When I was pregnant with my daughter, I was kind of obsessed with looking at linen ring slings online. I really wanted to try one, but since slings have never been my favorite carriers, I didn’t want to invest a lot of money in one, so I made my own.
My local fabric store did not have many colors available in 100% linen, so I went with a linen blend instead. I purchased the aluminum rings from Slingrings.com and followed this great tutorial for making my sling. If you plan to make a sling of your own, be sure to read this Rings and Fabric FAQ for tips in choosing the correct fabric and thread for your sling.
I loved the way my sling turned out. I used a complimentary color on the end of the tail and added a ruffle of accent fabric. Supplies cost me less than $30 and it only took a few hours to make. But like I said earlier, slings have never been my first choice, and this one, although beautiful, was never worn more than once or twice.
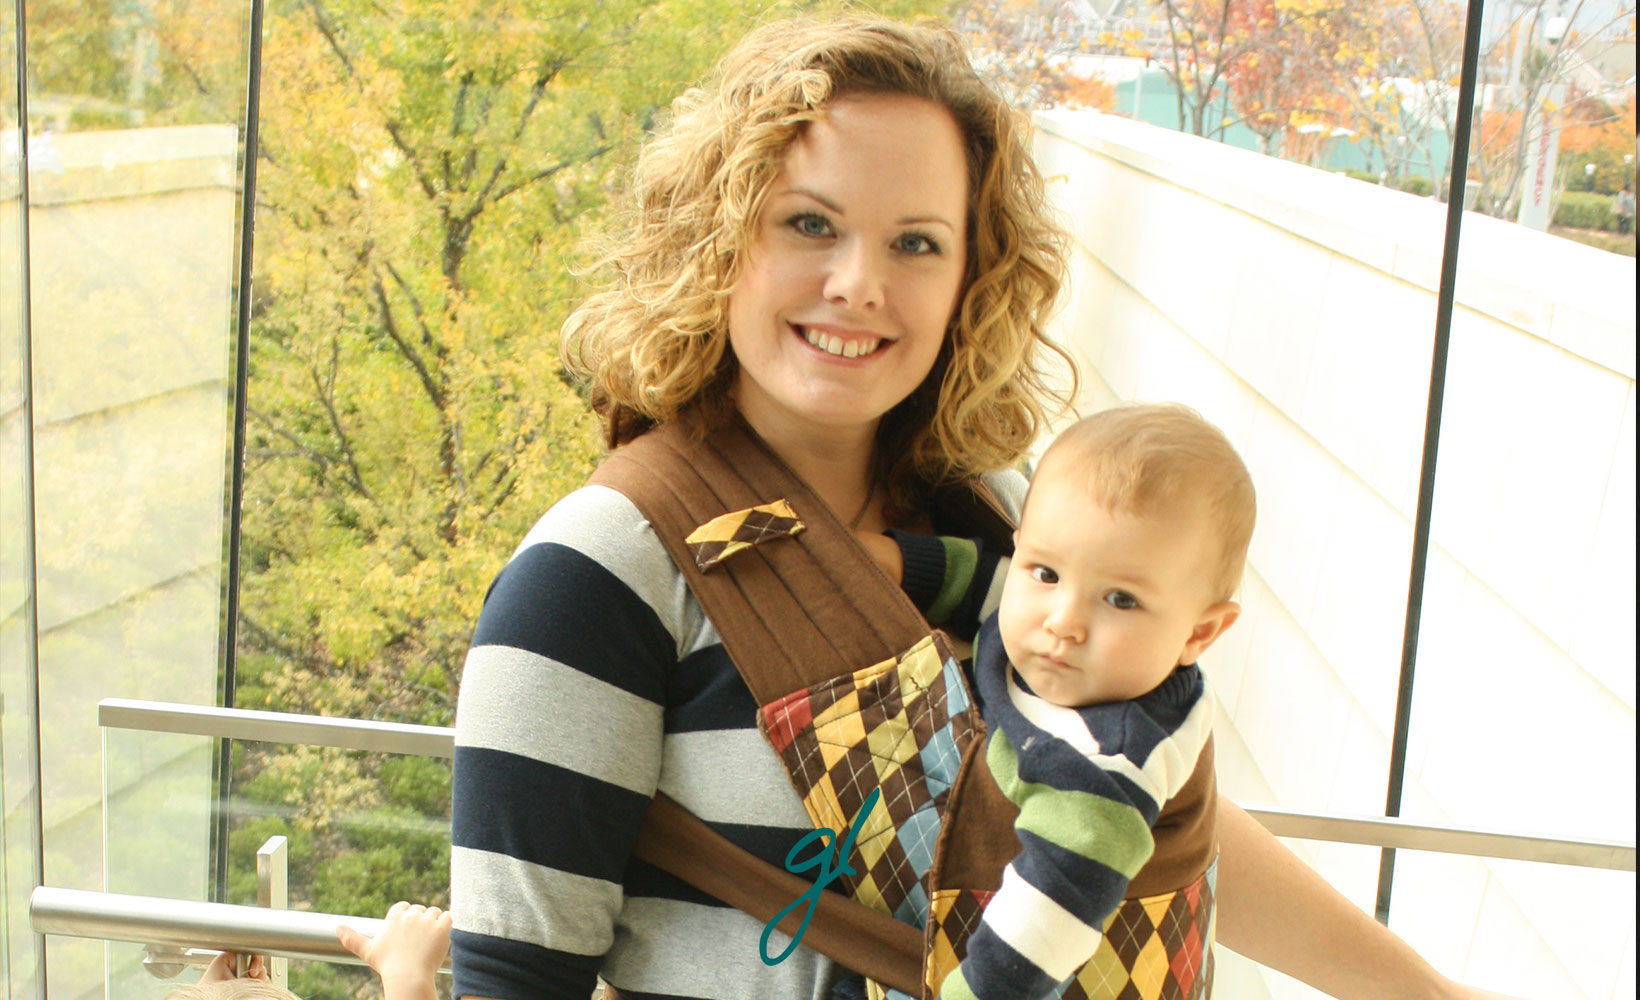
DIY Mei Tai
(Sewing Skills Required: Advanced)
The first and most difficult baby carrier I made was a mei tai. I actually made this carrier five years ago after my second son was born.
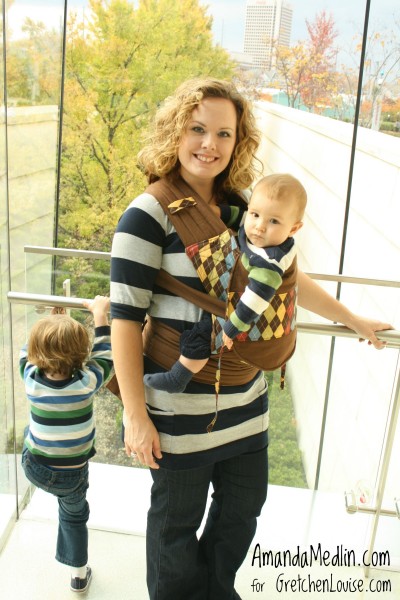
It wasn’t a quick or easy carrier to make, but I loved this carrier and got plenty of use out of it myself and then later sold it. I followed this excellent and very detailed tutorial to purchase the correct fabric and supplies, make my pattern, and sew my Mei Tai.
Fabric and supplies cost me around $35 and it took me about a week to complete. It’s not a project for the faint of heart, but it was my favorite and most used DIY baby carrier.
Safety first!
Make sure you use the correct fabric and supplies specific to the type of carrier you are making. (Review tips and links above.)
If you are new to babywearing, please read this post for some great safety tips!
Happy Babywearing!
Amanda is a pastor’s wife and crafty, homeschooling mama to three. She blogs at about faith, motherhood, and creativity at amandamedlin.com.
One Comment